README.md

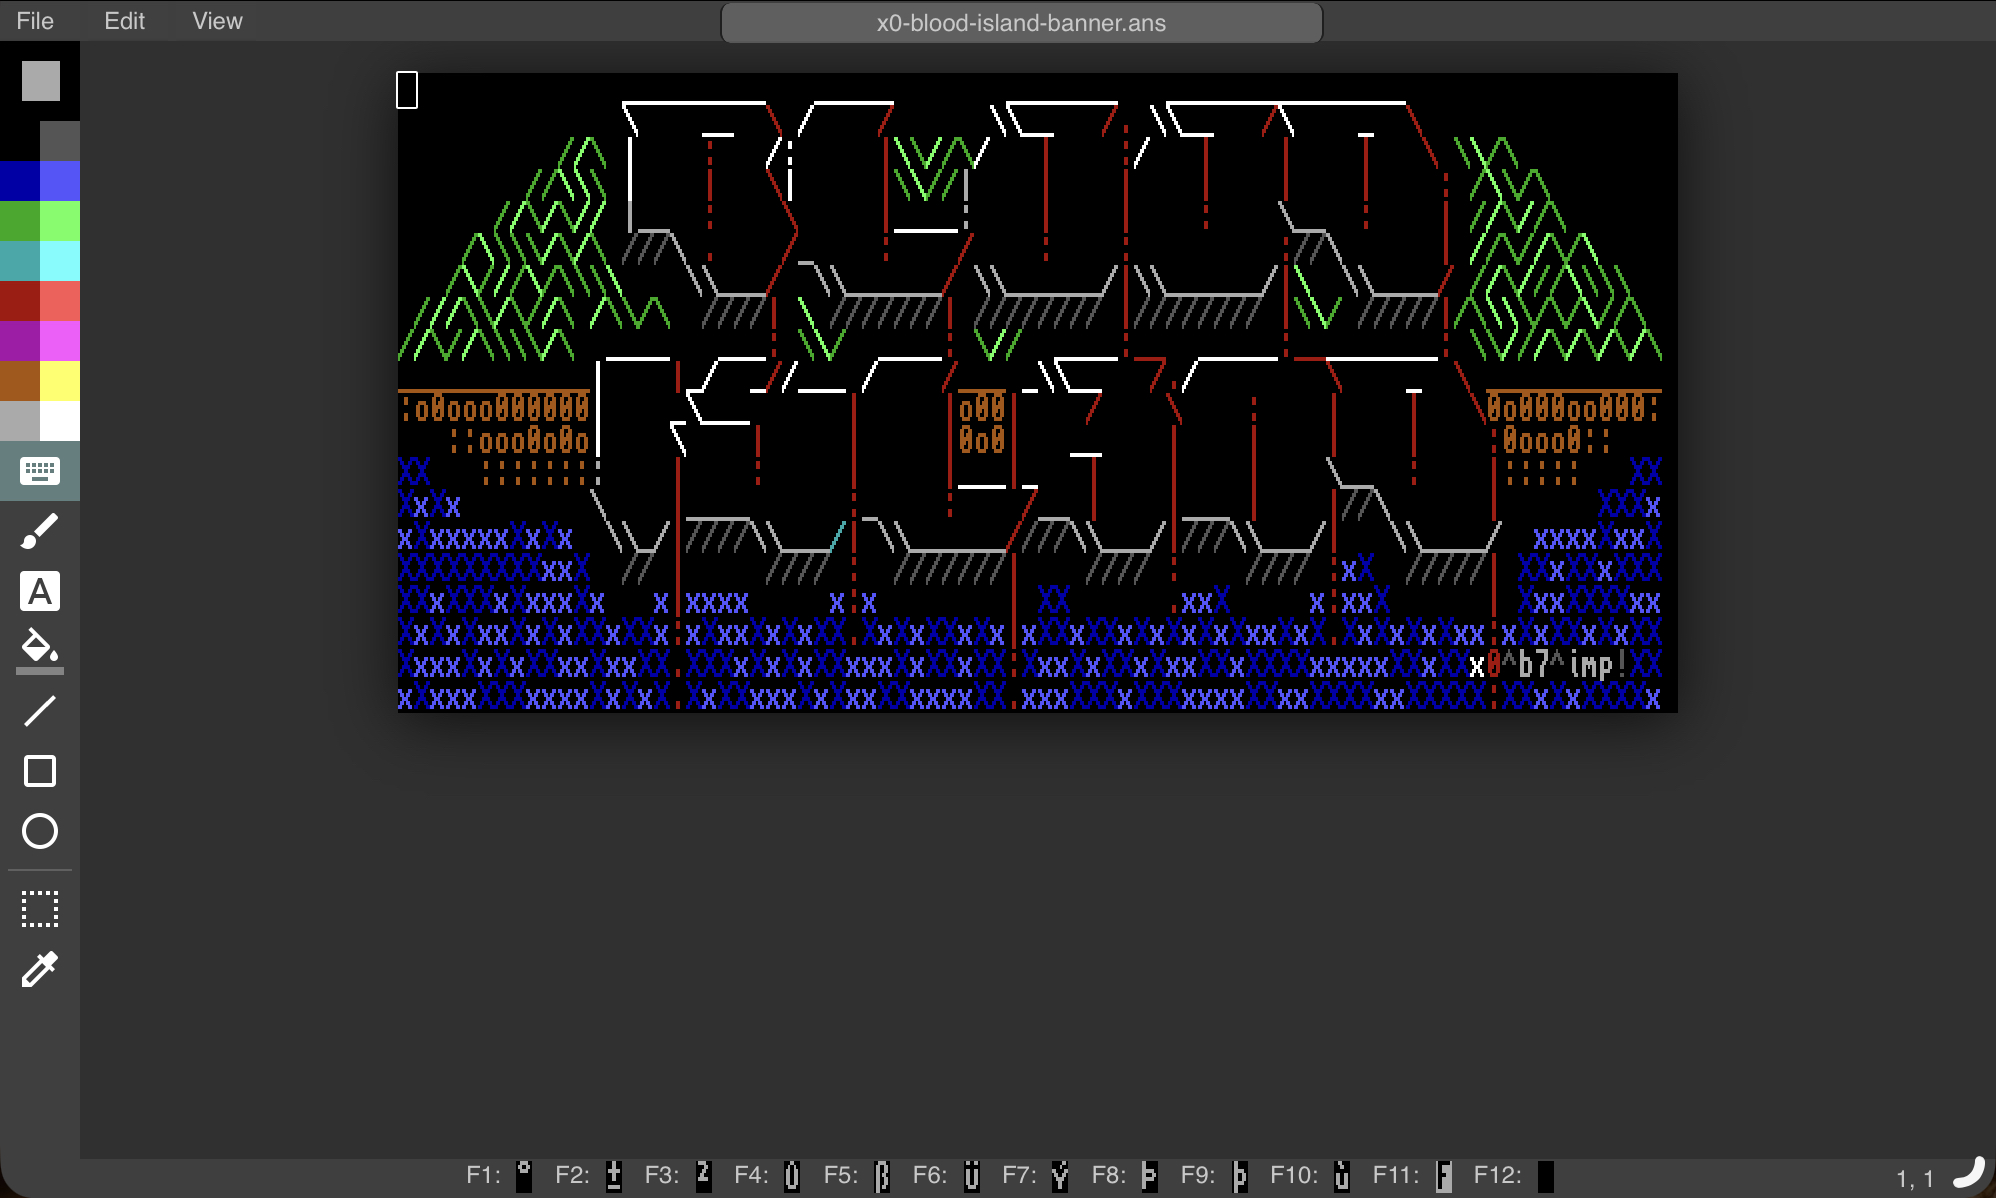
This was the web-based precursor to [moebius](https://blocktronics.github.io/moebius/), the best ansi editor around.
Code for both projects by the amazing [andy](http://github.com/andyherbert)
Revival, on-going dev, and maintenance by [xero](https://github.com/xero)
# Demo
My personal instance is available at [ansi.0w.nz](https://ansi.0w.nz)
# License
Distributed under the MIT licence. See LICENCE.txt
Uses Google's Material Icons. https://material.io/icons/
# Install
If you want to use this as a local only editor, you can just put the "public" folder on a web-server and you're good to go.
For a group server setup, set the following:
## Group Server
Requires `node`, `npm`, and `pm2`.
npm i
The websocket server assumes SSL capabilities for running the webserver over HTTPS.
You can get free SSL certs from let's encrypt. I personally use [acme-nginx](https://github.com/kshcherban/acme-nginx) to do all the work for me:
acme-nginx -d "ansi.blocktronics.org"
Edit `server.js` and change line #5-6 from `etc/ssl/private/letsencrypt-domain.{pem,key}` to the location of your cert and key (the output of the last command should tell you where).
Shared editing mode requires a `joint.bin` file in the top-level directory in Binary Text format. A blank one is provided in the repo to get you started.
Run the moebius backend server via [pm2](https://pm2.keymetrics.io)
pm2 start server.js <port>
The server runs on port `1337` by default. But you can override it via an argument to server.js. You will need to update the port the client uses in `public/js/network.js` on line #113.
Now you need to setup a webserver to actually serve up the `/public` directory to the web. Here's an nginx example:
Create or edit an nginx config: `/etc/nginx/sites-available/moebius`
server {
listen 80;
listen 443 ssl;
default_type text/plain;
root /www/moebius-web/public;
index index.php index.html index.htm;
server_name ansi.blocktronics.org;
include snippets/ssl.conf;
location ~ /.well-known {
allow all;
}
location / {
try_files $uri $uri/ /index.html;
}
}
> Note that the webroot should contain the `/public` directory.
Make sure you define your SSL setting in `/etc/nginx/snippets/ssl.conf`. At minimum point to the cert and key:
ssl_certificate /etc/ssl/private/letsencrypt-domain.pem;
ssl_certificate_key /etc/ssl/private/letsencrypt-domain.key;
Restart nginx and visit your domain. Time to draw some **rad ANSi!**
# Goals
I'm trying to make this web app work as a modern pwa, and support ipad touch drawing. For now, I'm sticking with Andy's original code. But I might try using the newer moebius js classes next.
# Client Usage
> note: taken from an older README version.
## Changing colors:
Keys '1' to '8' will choose the first eight colors without the bold-bit set, holding shift down while making the selection will choose from the highlighted palette. Alternatively, the functions keys, from F1 to F8, will select from the highlighted palette range.
The 'q' and 'w' keys will cycle through all sixteen colors in descending, and ascending order respectively. The ordering will loop endlessly.
Pressing the 'tab' key will change back to the previously selected color, assuming one was already chosen, hitting 'tab' again will change back. This switching can be performed as many times as required.
## Freehand ('f'):
Freehand mode enables 'half block' characters to be used as large pixels. Since only eight colors can be used for the background in 'blink mode', if two 'half blocks' are drawn on the same text-character space with the bold-shifted palette, then the editor assumes the current color takes precedence and shifts the other color sharing the same space to the lower-palette. Pressing 'alt', or 'option', reverses this precedence, and any other colors sharing the same space with be favored instead.
Holding shift whilst clicking on the canvas will create a straight line using 'half block' pixels from the last drawing position.
## Line ('l'):
Allows a line to be drawn between two points, but unlike pressing 'shift' with the freehand tool this gives an immediate preview. Pressing 'alt' or 'option' has the same effect here as the freehand tool, namely any attribute clashes will favour the other, conflicting color.
## Shading ('s'):
Reselecting the option will cycle through the light, medium, and dark varieties of shading.
Usage is similar to freehand mode, including using the 'shift' key to draw straight lines.
When choosing the area to shade the background color is chosen from the area directly under the cursor, and this includes 'half-block' pixels. For instance, if a single text-character has a different color in both the upper and lower half of the glyph, then clicking on either the top of the bottom of the glyph will choose a different background color for shading.
Attribute conflicts are resolved by shifting the background color to the lower palette.
## Vertical Block ('v'):
Toggles between left and right-handed vertical blocks, operates in the same way as shading mode.
## Extended Brush ('e'):
Allows a selected character from the extended-ASCII set to be used as a brush, as with the other modes this also supports drawing with straight lines, as well as fixing any attribute conflicts.
## Image Stamp ('p'):
Allows an pre-defined image to be cloned on the canvas. Pressing 'alt' or 'option' whilst using this tool will ignore any alpha channel in the stamp.
See also '[Load Image Stamp](#loadimagestamp)', '[Save Image Stamp](#saveimagestamp)', and '[Copy](#copy)'.
## Text ('t'):
Clicking anywhere on the cursor will place a cursor, text can then be entered directly via the keyboard. To escape from text-entry mode, press 'alt' or 'option' and enter.
## Box ('x'):
Draws a rectangle. Pressing 'alt' or 'option' will favour the non-current color in the case of an attribute clash. Pressing 'shift' whilst starting the drag operation will fill the rectangle with the current color, otherwise just the border will be visible.
## Ellipse ('i'):
Draws an ellipse. Pressing 'alt' or 'option' will favour the non-current color in the case of an attribute clash. Pressing 'shift' whilst starting the drag operation will fill the ellipse with the current color, otherwise just the border will be visible.
## Brighten ('b'):
Brightens the half-block, or the foreground color of the text-character directly underneath the cursor. Pressing 'alt' or 'option' key whilst painting will preserve the brightness-status of any other half block sharing the same text character.
## Darken ('d'):
Darkens the half-block, or the foreground color of the text-character directly underneath the cursor.
## Mirror ('m'):
Mirrors the drawing activity in the opposing side of the screen.
## Fill ('n'):
Fill mode operates in a similar way to most paint packages, although it will only operates on text-characters that are only one single color, or are upper and lower 'half-block' characters.
When conflicts arise with two highlighted colors sharing the same text-character then the editor corrects this by giving the fill color precedence and shifting the other color to the lower-palette, as with the freehand mode, this is reversed by pressing the 'alt' or 'option' key.
## Attribute Brush ('a'):
Changes the foreground attribute of the text-character immediately underneath the pointer to the currently selected color.
If 'alt' or 'option' is held down whilst using this tool then the background color is changed instead; the color is automatically shifted to the lower palette if a conflict is detected.
<a name="copy"></a>
## Copy ('c'):
With 'copy', a selection from the canvas can be made which may then be used as an image stamp to copy entire text-characters on the canvas. Character codes set to `NULL` will be interpreted as an alpha channel. Pressing the 'alt' or 'option' key will replace the selection with `NULL` values after the selection is made.
## Flip Horizontally ('['):
Flips a selection horizontally. Also changes vertical-left blocks to vertical-right blocks, and vice versa, in the process.
## Flip Vertically (']'):
Flips a selection vertically. Also changes lower-half blocks to upper half blocks, and vice versa, in the process.
## Grid mode ('g'):
Turns on and off, and toggles between, two different types of grids, 'Light' and 'Dark'. The light grid is has higher visibility on darker backgrounds, but less pronounced on lighter backgrounds. The opposite is true for the dark grid.
## Reference ('g'):
Sets the opacity for the reference image used on the background of the canvas.
See also '[Load Reference Image](#loadreferenceimage)'.
## Undo ('z'):
Reverses the previous operation, can be repeated consecutively a maximum of 1000 times.
## Load:
Allows an ANSi, XBin, or image file to be loaded by dragging and dropping a file on to the browser.
## Save:
Provides a link to a file containing ANSi escape sequences.
## Clear:
Resets the canvas to the initial state. All un-saved work will be lost.
<a name="loadimagestamp"></a>
## Load Image Stamp:
Loads an ANSi, XBin, or image file, which can be used as a stamp using the 'Image Stamp' tool. A pair of vertical pixels represent one character. Transparency is preserved, and the palette of the source image is reduced to its nearest match. Character codes set to `NULL` will be interpreted as an alpha channel for textmode art.
<a name="saveimagestamp"></a>
## Save Image Stamp:
Saves an XBin file based on the current selection for the 'Image Stamp' tool.
<a name="loadreferenceimage"></a>
## Load Reference Image:
Loads an image file use for the background of the canvas.
## Information:
Displays information on the text-character currently under the mouse cursor whilst editing.

